
The WP Rocket Settings I Turned On (and the Ones I Left Alone, and Why)
These are the exact WP Rocket settings I turned on, based on what actually happened when I tested it on my own site rather than what the settings page promises in theory. After I installed WP Rocket and got my LCP down from 4.1 seconds to 718 milliseconds, the most common question I got wasn’t “does it work.” It was “which settings did you actually turn on to get there.” Fair question, because WP Rocket ships with a lot of toggles, and turning all of them on at once is exactly how you end up with a broken menu or a checkout page that stops working.
So here’s the real breakdown. What I switched on, what I left untouched, and the reasoning behind each decision, based on what actually happened when I tested it on a live site rather than what the settings page promises in theory.
File Optimization: Minify CSS and JavaScript
I turned these on. Minifying strips out unnecessary spaces, line breaks, and comments from your CSS and JavaScript files, which makes them smaller and faster to download. On most sites running a mainstream theme, this is low risk and a fairly easy win.
The catch is that minification can occasionally break a script that depends on very specific formatting or load order. My advice here is the same thing I did myself: turn it on, then actually click through your site, check your menu, check a couple of forms, check anything with a slider or a popup. If nothing looks broken, you’re fine. If something does, you can exclude that specific file from minification rather than turning the whole feature off.
Delay JavaScript Execution
I turned this on, and it was one of the recommendations WP Rocket itself flagged as high impact. This setting holds off on running JavaScript until a visitor actually interacts with the page, scrolling, clicking, moving their mouse, instead of running everything the moment the page loads.
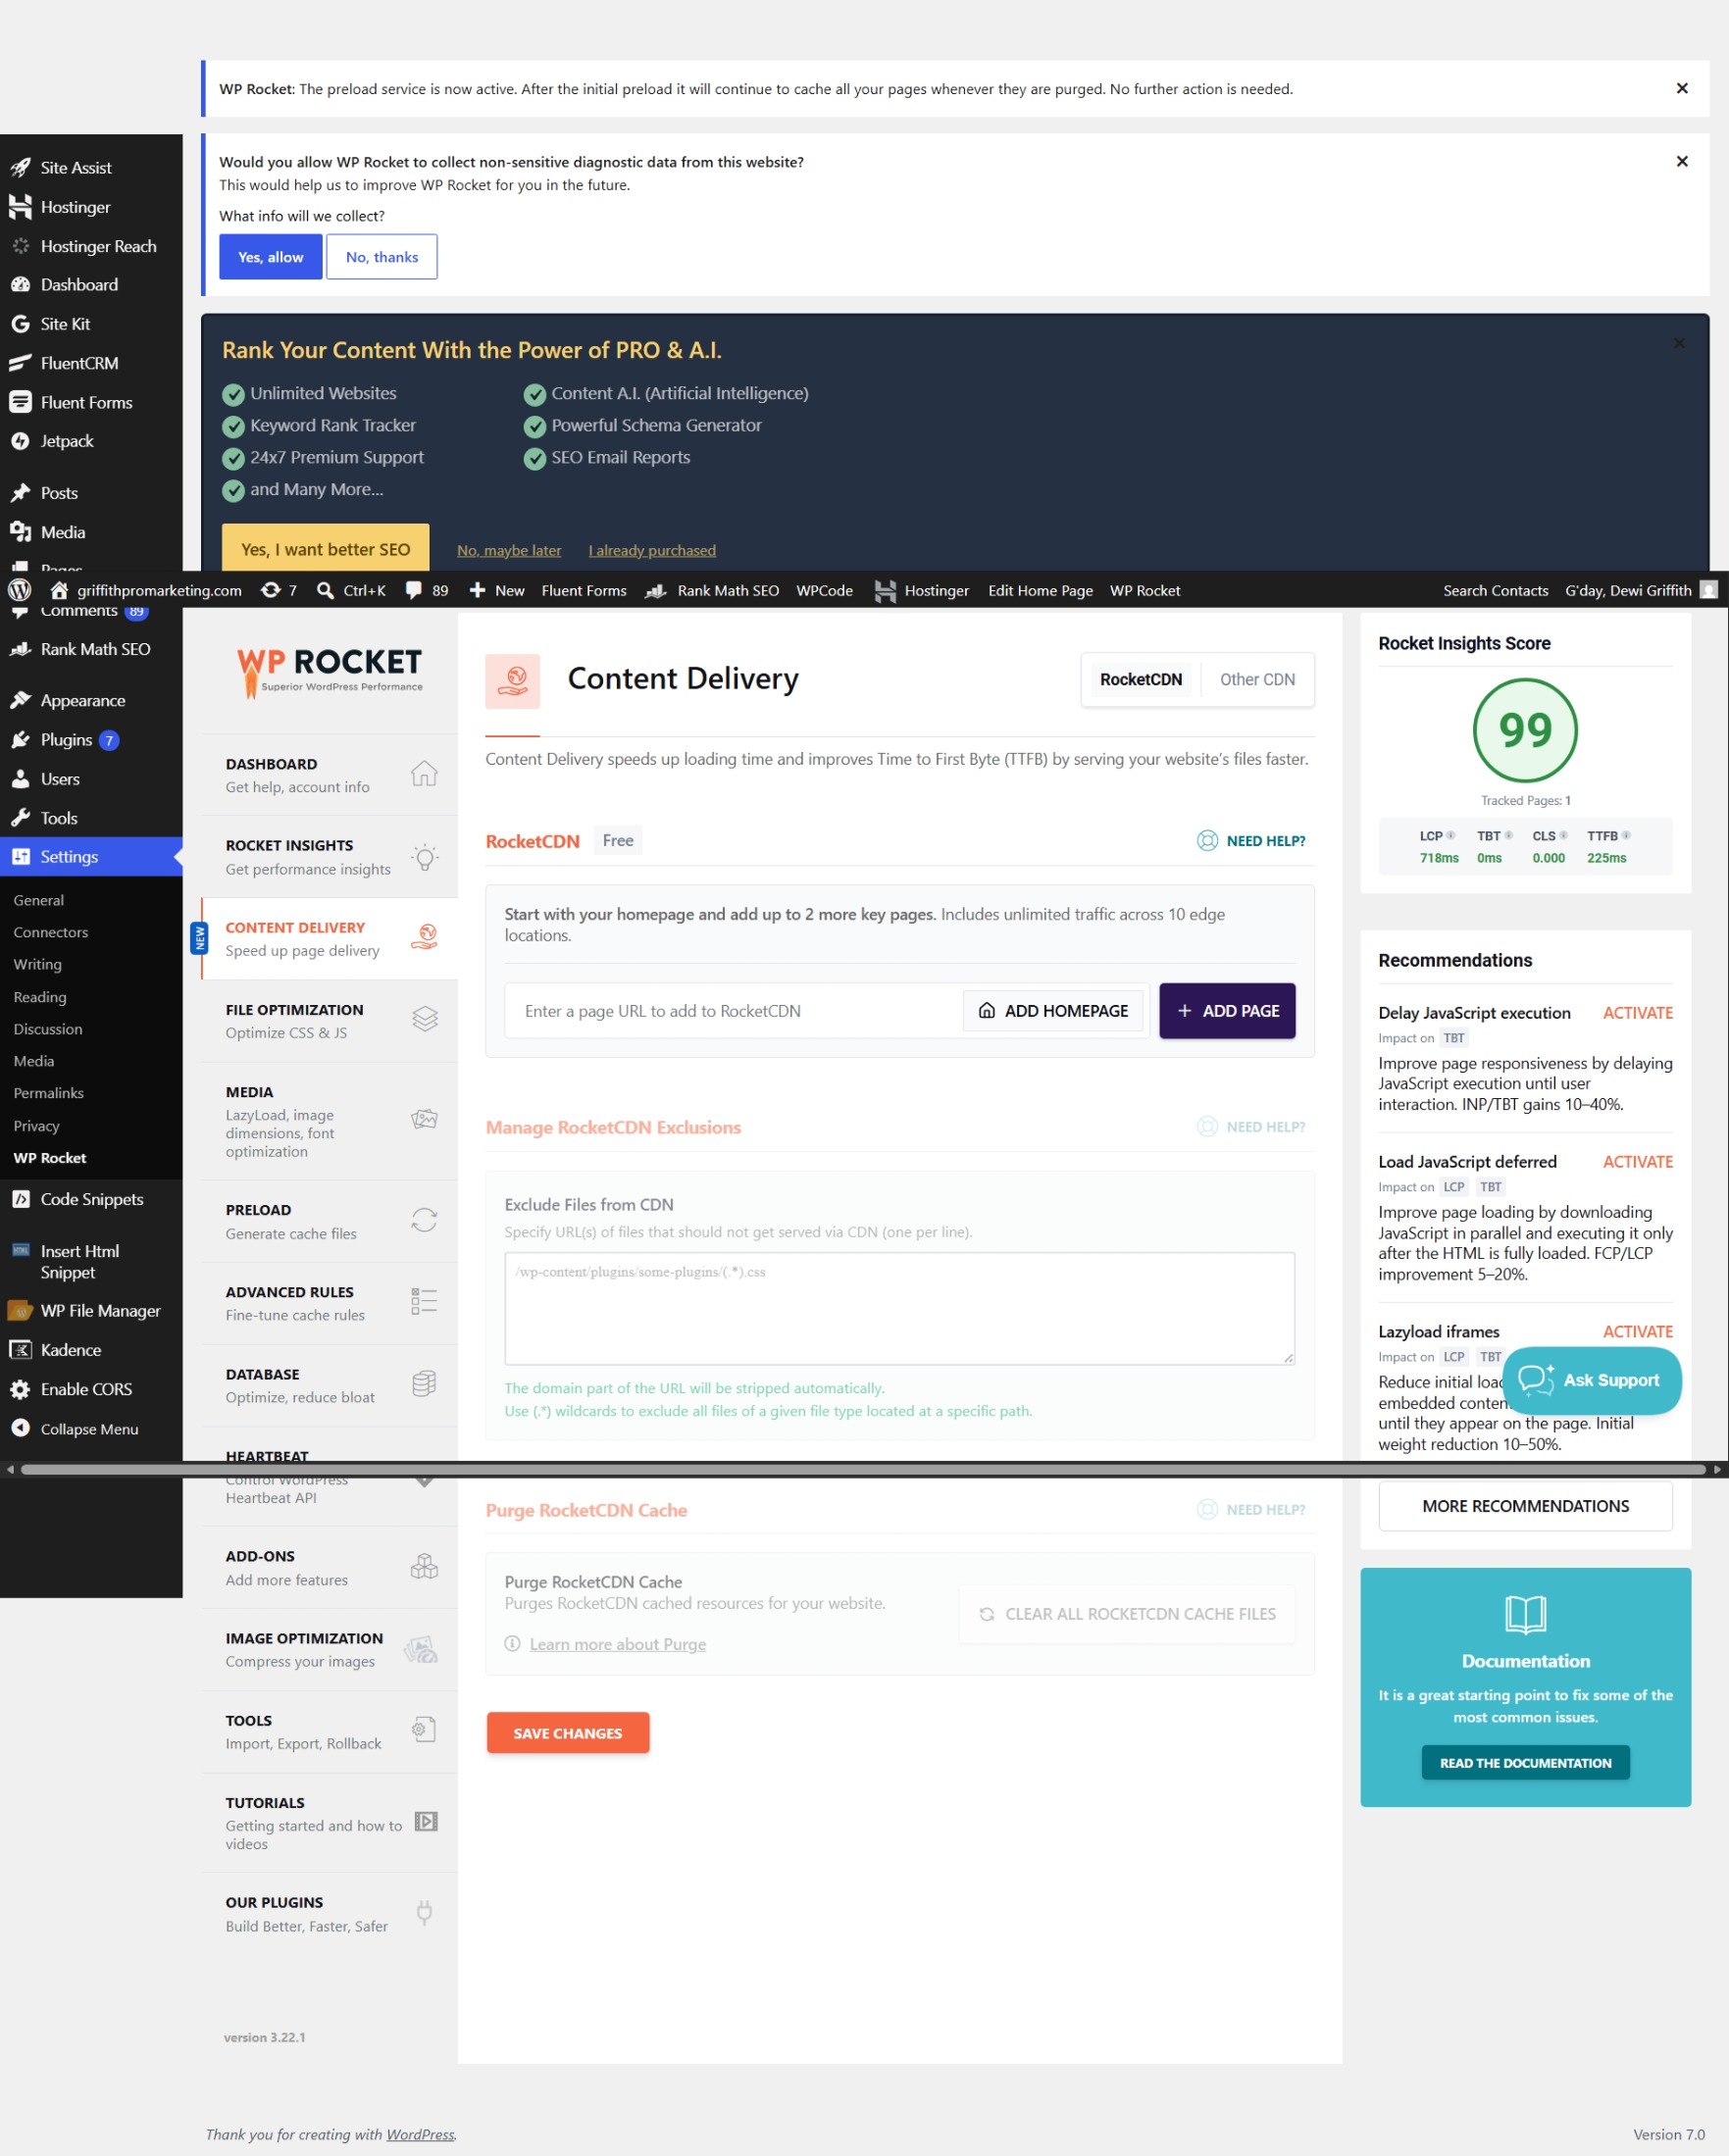
This is genuinely one of the bigger levers for improving responsiveness scores, but it’s also the one most likely to cause a problem if your site relies on something firing immediately, like a live chat widget or an analytics tag that needs to fire on page load rather than on interaction. WP Rocket lets you exclude specific scripts from this delay, so if you’re running something time-sensitive, exclude it by name rather than skipping the setting entirely.
Load JavaScript Deferred
Also turned on. This one’s a bit gentler than delaying execution outright. Instead of waiting for interaction, it just lets JavaScript download in the background while the rest of the page renders, then runs it once the HTML is ready, rather than blocking everything else while it loads. WP Rocket’s own documentation flags this as one of the settings most likely to cause visible breakage on complex sites, so if your theme relies heavily on a page builder with a lot of custom scripts, test this one carefully before assuming it’s safe.
Lazyload Images and Iframes
Turned on, and this was an easy decision. Lazyloading means images and embedded content, like YouTube videos, don’t load until a visitor actually scrolls near them. There’s very little downside here for most sites, since the visual result looks identical to a normal visitor, the only difference is what’s happening behind the scenes.
The one thing worth knowing: don’t lazyload anything above the fold, meaning content visible without scrolling, like your hero image or logo. WP Rocket handles this reasonably well by default, but it’s worth checking that whatever’s visible the instant your homepage loads isn’t sitting there as a blank space for a second before the image pops in.
What I Left Alone: Combine CSS and JavaScript Files
This is one I deliberately didn’t turn on. Combining files used to be a bigger win years ago, back when browsers could only download a handful of files at once. Modern browsers handle multiple file requests in parallel far better than they used to, so combining files into one giant file doesn’t help nearly as much as it once did, and it actually increases the risk of one broken script taking down everything bundled with it. Unless you’re on an older or more limited hosting setup, I’d skip this one.
What I Left Alone: Removing Unused CSS Site-Wide
WP Rocket offers a “remove unused CSS” feature that strips out styling rules a given page doesn’t use. It sounds great in theory, smaller files, faster loads, but it’s also the setting most likely to quietly break something, especially with sliders, modals, and dynamically loaded content, because the tool can’t always tell in advance which styles a page will need once JavaScript starts adding things to it.
I didn’t enable this site-wide. If you want to try it, WP Rocket lets you apply it per page type rather than globally, which is the safer way to test it without risking your whole site at once.
What I Left Alone: RocketCDN
WP Rocket’s own CDN add-on is worth knowing about, but I didn’t activate it beyond adding my homepage, since my hosting already handles a reasonable amount of server-side caching. If you’re on basic shared hosting with no CDN or edge caching at all, this is worth turning on since it’s included free for your homepage and a couple of extra pages. If your host already includes something similar, there’s little point running two CDNs at once.
The Setting That Actually Mattered Most: Preload
If I had to pick the single setting that made the biggest practical difference, it’s preload. This tells WP Rocket to automatically generate a cached version of your pages ahead of time, right after you publish or update something, instead of waiting for the first visitor to trigger that caching process and experience the slow, uncached version themselves.
Without preload, your cache is technically working, but the very first person to land on a freshly updated page still gets the slow version while the cache builds. With preload on, that gap basically disappears.
Where This Leaves You
If you’re setting up WP Rocket for the first time and want the short version: turn on minification, delay JavaScript execution, defer JavaScript loading, lazyload images and iframes, and preload. Test your site after each one rather than all at once. Leave file combining and unused CSS removal alone unless you’ve got a specific reason and the patience to test carefully. And if you haven’t gotten the plugin installed yet in the first place, here’s the mistake I made getting started and exactly how I worked through it, LiteSpeed Cache conflict and all.
None of these settings are complicated once you understand what each one actually does. The real risk isn’t any single toggle, it’s flipping five of them at once and then not knowing which one broke your contact form. Go slow, check your site after each change, and you’ll end up in a genuinely fast place without the guesswork.
These are the exact settings running on my own site right now.
Get WP Rocket →